Making a VR video has to be one of the funnest (it’s a word in the Metaverse, look it up 😉 ) things we’ve done in a while! With the talk about content for the metaverse doing the rounds, everyone wants to know more about it, including us! So we decided to make a VR video and tell you how we made it in case you want to make one.
First things first, the reveal! Below is our immersive, space-themed, roller coaster joyride video: (be sure to watch it on a headset if you have one)
HOW TO VIEW VR VIDEOS
Let’s recap what VR videos are. Plainly put, a VR video is a 360-degree rendering of an environment. This enables the viewer to see in all directions, as well as the ability to look around in the video. As for what equipment you need to view them, using a VR headset makes the experience more immersive for the viewers. But it is not a requisite. Below are your viewing options, as found on YouTube.
1. High-end VR headset
Using a high-end VR headset can help the viewer completely immerse themself in your 360 videos. In addition, if you would like to see how to set up your VR device, view our post about getting set up with VR. A list of compatible VR headsets can be found on YouTube’s VR page.
2. Cardboard VR headset
Super easy to set up, and super easy to use. Just pop your phone into the cardboard device for a full VR experience. It’s a low-cost alternative to using a high-end headset.
3. Smartphone
Additionally, you can view these videos on your phone. The experience is not as immersive as using a headset, and the viewers will have to click and drag on mobile in order to view the surroundings. It’s still an interactive experience for the viewers, and they can still see all the environments created for your video.
4. Desktop
Similarly, you can use your desktop to view VR videos. Much of the same as the above, but the viewers will use their mouse to click around on the screen.
VR VIDEO HOSTING AND SHARING PLATFORMS
A lot of companies have jumped on the VR roller coaster (see what we did there?), so your options are pretty much endless. Below is a list of some of the platforms where you can host or share your video:
Our top choice? Well, that would depend on the use of your video. For example, if you are looking to host your video somewhere long-term to attract views then YouTube or Vimeo is probably best. If you are looking for places to share your content, look at Facebook, especially if you already have a large following on this social platform. Alternatively, Flickr is a great sharing platform for VR. As you can see, there are many options. Ultimately it is up to you and the campaign you have in mind.
FINALLY, HOW DID WE MAKE OUR VIDEO?
Alright, get ready to get a little technical in this section. Obviously, you don’t need to learn to use the actual software and make your video yourself. You can hire a creator, hint-hint, to create it for you. In any case, below are the steps we used to create our VR roller coaster video:
Step 1: Conceptualization / Scripting
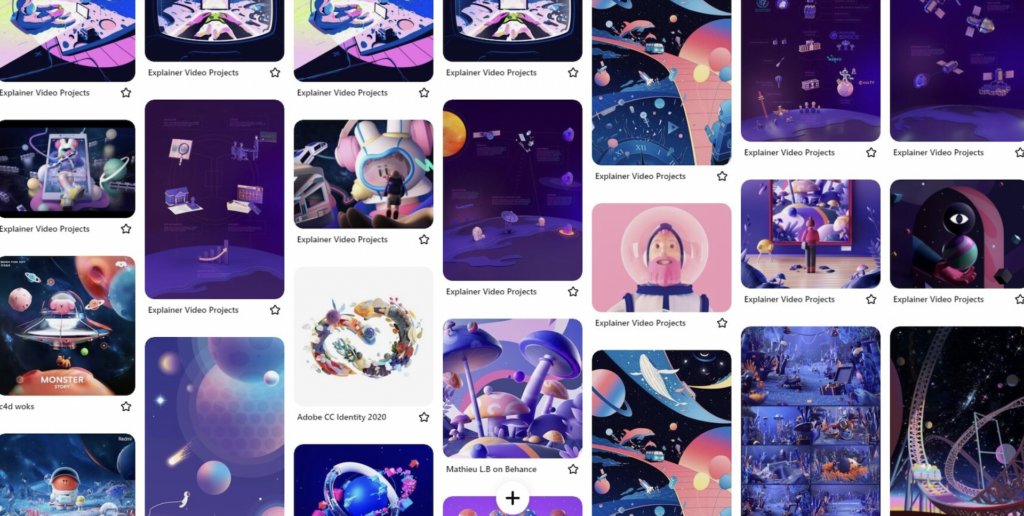
You should start by writing down your goals, i.e. a brief. Then do some brainstorming to determine the concept for your videos. To plan out your visuals you should start by looking for style references for your 360 environments. Think of the color palette, the mood you want to convey, as well as your intended audience. Below is the inspiration board we created for our project on Pinterest.
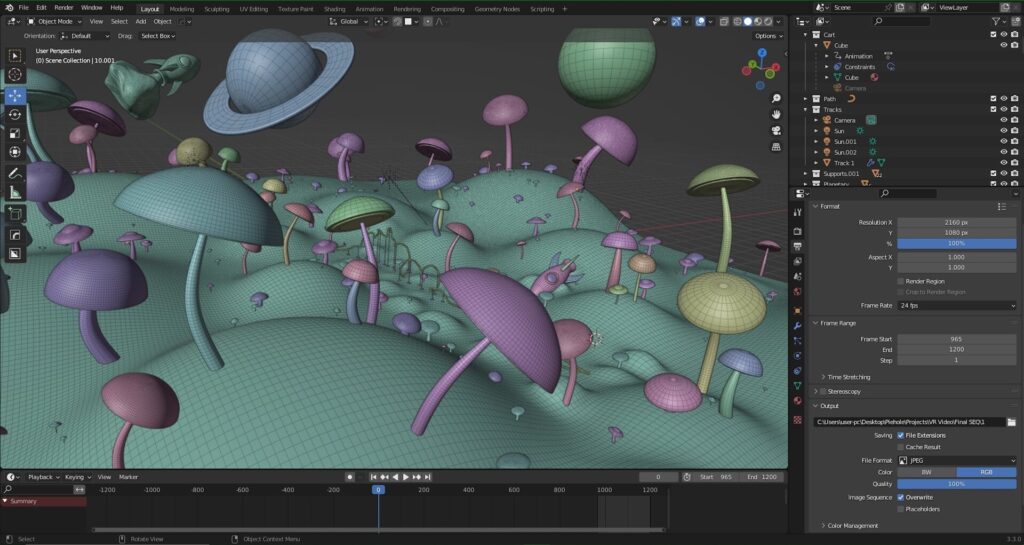
Step 2: Planning, building and animation
There are various 3D software programs and tools you can use to create your video. For our VR video, we used Blender. A few things to keep in mind when designing your video:
- The video needs to make sense to the viewer. For example, we added support beams to the roller coaster, which technically wasn’t necessary.
- Keep size and distance in mind. Your 3D software will keep track of the scale of objects, for example, the planet sizes in our video.
- The video and design need to be scientifically sound. In our roller coaster video, things like gravity and physics had to be kept in mind.
- Lastly, we have lighting! We chose an out-of-space theme for the video. However, that doesn’t mean we can plop a large, blazing sun in the middle of it. Our designer played around with various lighting elements, and ultimately we landed on the idea of using multiple sun elements.
Below are some screenshots from our project in Blender.

Step 3: Rendering and sound
The magic happens once you render the video! In order to get the desired effect, you will need to render a 360 of the whole environment you have created. We can go into all the technical mumbo-jumbo here, but we won’t. Basically, when you render a normal image you’re only rendering one perspective. Whereas in our roller coaster project we rendered the full 360 environments around our camera.
Similarly to everything about VR video, the sound also needs to be custom created. Keep the experience of the viewer in mind. What are they seeing? What are they hearing at specific points in the video? We played around with how the viewer will react at specific points in the video. Such as screaming when the roller coaster races downwards, or the sounds of the roller coaster as it goes over the tracks.
NEXT UP FOR VR VIDEO?
Anything and everything… The Metaverse and everything that goes with it is a pool of opportunities! And if you’re not quite sure about the “what” of it all, head on over to our blog, Pie in the Skyverse. Here we share our journey of discovering the Metaverse and all it has to offer.
Alternatively, get in touch. We have a ton of ideas, you have a ton of ideas. Let’s chat about them! 🙂